Home |
What's New |
Features |
Gallery |
Reviews |
Reference |
Forum |
Search
Home |
What's New |
Features |
Gallery |
Reviews |
Reference |
Forum |
Search
|
|
|
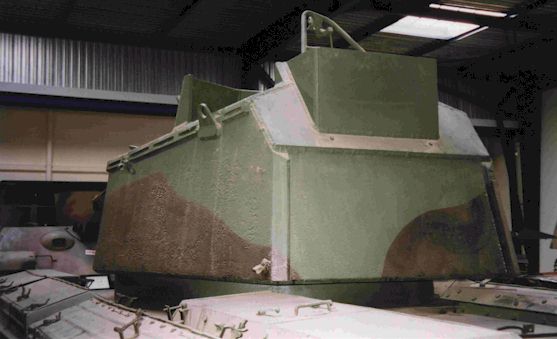
Crusader III A.A. Mk III at Saumur
Another good view of the coaming. The overlapping positions of the armour and location of weld beads are also of interest. Note the stowage rail welded to the top of the port turret side. This rail does not extend to the port-side forward side armour (see Picture 2) |