|
Working With
Vacform Canopies
by Rex
Barker

Squadron Vacform Canopies are available online from Squadron.com
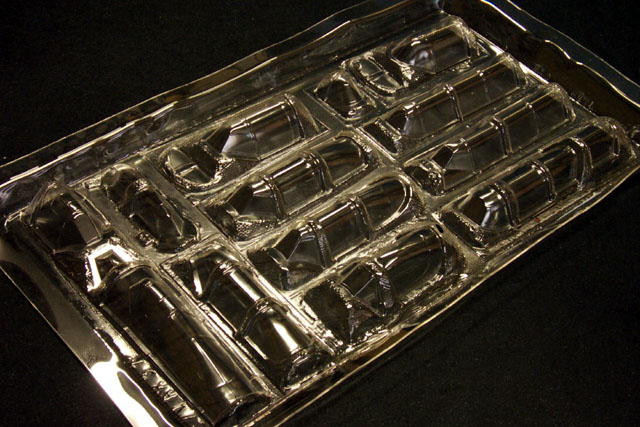
Vacform models and canopies have a reputation for being
difficult to work with, poor fitting and time consuming. Many modelers
have shied away from working with vacform because of this discouraging
impression.
This bad reputation originated years ago when vacforming
quality (before the days of Falcon, Dynavector & Koster) was of very
indifferent standard. Who doesn't still shudder when thinking of those old
Airmodel vacforms and blue-soap canopies?! Fortunately, for the past 15
years, modelers have had the benefit of access to the (now) huge range of
Falcon vac-form canopies (in the ClearVax range and as individual canopies
in the Squadron range) which have been steadily reversing the poor
perceptions of many modelers. These canopies are universally acknowledged
as the best in the business - the clearest, most accurate and
best-fitting.
This still leaves the perceived difficulty of separating
the clear parts from the backing sheet, preparing & painting them and
their installation on the model. This article will work through these
tasks.
Separating
Vacform Canopies from Backing Sheet |
This is the trickiest part of the job and it is very
important that you do not rush this stage.
The best tool to use for cutting the part free is a
scalpel with a fresh blade attached. A craft knife (with a new blade) can
be used but a scalpel with give the best results.
 One
of the best qualities of Falcon-produced clear parts is that every part
sits on a clearly-defined ledge which is perfect for use as a cutting
guide - why every canopy producer doesn't include such ledges with their
products has always been a head-scratcher! One
of the best qualities of Falcon-produced clear parts is that every part
sits on a clearly-defined ledge which is perfect for use as a cutting
guide - why every canopy producer doesn't include such ledges with their
products has always been a head-scratcher!
Step 1 is to take your scalpel/knife and touch it,
at a 45 degree angle, on the ledge where it meets the part. Using
absolutely minimal pressure, GENTLY score completely around the part using
only enough pressure to slightly score the acetate. Apply too much
pressure and you risk the blade slipping and slicing into the part - NOT
something you want to happen!
Step 2 is to repeat Step 1 using a little
more pressure and using the first scored channel to guide the blade. Often
this will be all you will need to get the part to pop clear - if not, then
repeat the procedure once more. Carefully inspect the separated part to
see if there are any rough or jagged edges. Use fine wet-n-dry paper or a
sanding stick to smooth these edges. Take care to handle the parts
carefully as they are very flexible and easily scratched. Removing
scratches or scuff marks from this type of acetate is not possible. A coat
of Future floor wax MIGHT reduce the effect of scuff marks but I have not
tried this out yet - has anybody?
Attaching the
Vacform Canopy to the Model |
Standard tube or liquid glue should not be used to
attach acetate parts to plastic as they will not react/key with acetate.
The two most commonly used products are PVA (white glue or woodworking
glue) or CNA (super-glue). PVA is probably the best to use as it has many
virtues and no vices. It gets a good grip on both plastic and acetate, it
fills any gaps and can be smoothed down using a damp cloth. Great care
should be taken when using super glue primarily because the fumes from it
can create a non-removable cloudy coating on the part. Use CNA very
sparingly and mask all of the part off apart from the joining edge.
CNA can be used to fill any minor gaps (if cut out
correctly, Falcon canopies will normally be a friction fit) but I
recommend using PVA.
Remember - once you have used CNA and attached the part to
the model it will be attached permanently! With PVA you can always remove
the part, clean away the PVA and re-attach. Other fillers (such as Tamiya
putty, Green Stuff, Mr Surfacer, etc) can be used but be VERY careful that
you do not scuff the clear part of the moulding when sanding the joint
smooth. Proper masking will prevent this.
There are at least three ways of applying/painting frame
lines on canopies/turrets, etc and the one you choose is very much a
matter of personal choice - whatever way works best for you. In no
particular order:-
Masking
Carefully mask each clear panel using products such as
Frisket, masking tape, liquid masking or, my personal favorite, super thin
adhesive-backed foil (dont leave it on the part for more than a very few
days otherwise it will permanently bond!). This can be time-consuming but
it offers the opportunity to paint the entire model and results in the
canopy framing to be exactly the same shade as the rest of the model (see
a note regarding this in the Summary section below). It also allows you to
paint the internal framing color first and then the external colour.
Decal-Strip Frames
Paint part of a sheet of clear decal film with the
exterior color of the part concerned (you may wish to first paint the
interior color then the exterior color). Then cut into measured-width
strips for applying to the part. To give these decal strips something to
grip on I would recommend that you paint a clear varnish on the framelines
first and then, after the varnish is dry, apply the decal strips. This
will usually give a good result with the only potential downside being the
decal strips being comparitively easy to damage or lift - unlike a coat of
paint applied directly to the part. Care is also required where you have
irregular or curved frames to cover.
Pre-Cut Commercial Products
A number of commercial companies produce masking sets for
major kits and it is quite probable that many of these will closely fit
the frame lines on Falcon canopies. These masking sets (some of which have
been specifically designed for the AM B-25 series) come in two types. One
gives you die-cut frames that you pre-paint while others give you die-cut
masks that you apply prior to painting the exposed frames (my personal
preference!). There is a MAJOR drawback in using these masks for some
Falcon canopies. Falcon carefully checks the accuracy of both shape and
framing of every canopy they pattern and will correct the kit part if it
is wrong. This is certainly the case with the forward nose canopy on the
AM B-25 which was both the wrong shape and had incorrect framing. A
commercial masking set for the AM B-25 will therefore not match this part.
It is therefore necessary to carefully compare the masking item with the
vac-formed part to ensure they will match. If they dont then it is back to
either Plan A or B as above!
While the work involved in preparing and installing Falcon
parts is not as easy or as simple as working with an injected canopy, the
results can be most spectacular and rewarding - especially if you have
just spent twice the kit's value on a resin cockpit detailing set. Falcon
canopies and cockpit detail sets go together like a cold beer and a hot
day!
Read the instructions (when all else fails!), take your
time and the results will speak volumes.
Finally, a couple more tips to take into consideration:
Displaying Open Canopies
If the canopy you are working on is molded shut (and you
want it displayed open), or if you want to open up a window in a bomber
canopy, this is best achieved if you separate the joining line before you
cut the whole part from the backing sheet. I do not recommend you try
doing this freehand! I find the best method is to use thick plastic
electrical tape which you lay a thin strip off exactly next to the line
you wish to cut. The thickness gives you an edge to rest the scalpel/knife
blade up against and it is really flexible for curving lines. You then
follow the SAME method for cutting out the canopy (you know, VERY gentle
pressure followed by slightly more, etc). When you are sure you have cut
completely through you can then do the main separation.
Canopy Frame Colours
My last tip concerns the paint finish of frame lines on
aircraft clear parts. I have made a study of this and have come to the
realisation that frame lines on aircraft that do not have an overall gloss
finish are always a darker shade than the surrounding areas. I always
wondered why this was so untill the day I watched a ground crewman
vigorously polishing the canopy on a very matt RNZAF TA-4K Skyhawk at
Ohakea. Canopies are always being polished which results in the framelines
also getting continuously buffed. While the paint finish on the rest of
the aircraft slowly deteriorates (unless it is a gloss finish) the paint
on frames remains fresh (plus less matt) and therefore darker. To be
STRICTLY accurate you should therefore give your framelines a slightly
darker shade to the rest of the model to simulate this pecularity.
Once you have mastered the art of vac-form canopy
installation you will never want to install an injected clear part again!
Text & Images Copyright ©
2001 by Rex Barker
Page Created 24 December, 2001
Last Updated
19 April, 2004
Back to Reference Library
|
 Home |
What's New |
Features |
Gallery |
Reviews |
Reference |
Forum |
Search
Home |
What's New |
Features |
Gallery |
Reviews |
Reference |
Forum |
Search