|
WWI Biplane
Aligning and Rigging
Roden’s 1/72 Scale S.E.5a
by Glen Porter
|
|
|
Roden’s 1/72 Scale S.E.5a |
images by Brett Green

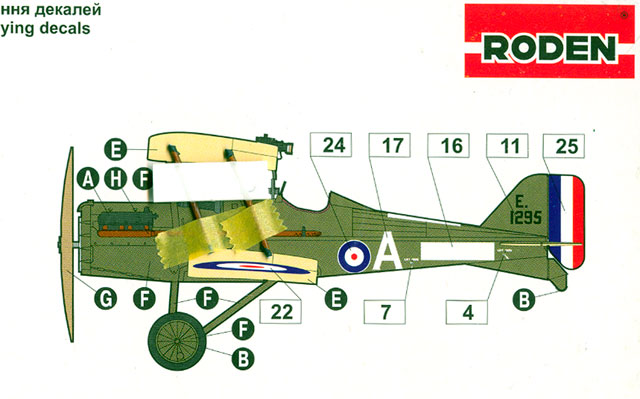
Roden's 1/72 scale
S.E.5a is available online from Squadron.com
The purpose of this article is not to provide a construction report
on an entire kit, but to detail one of the possible ways to align and
fit the top wing, and to rig a WWI biplane.
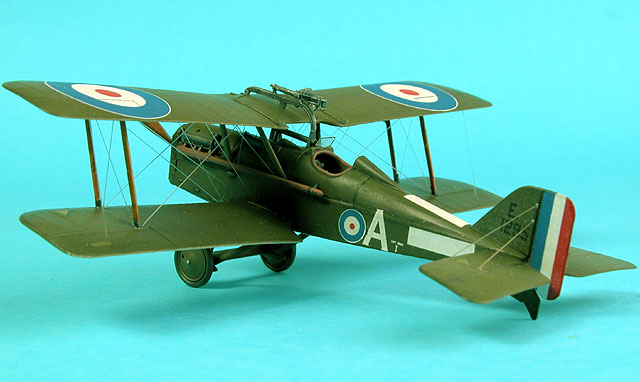
The subject model is Roden’s 1/72 scale S.E.5a.
Aligning the Top
Wing of a British WWI Biplane
|
After building two of Roden’s kits and encountering problems with the
alignment of the top wing, I was determined not to start another biplane
until I had worked out a better method of assembly.
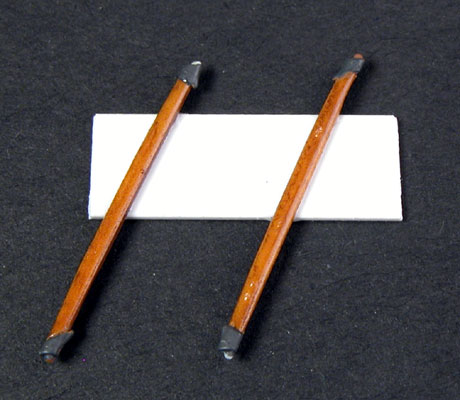
One factor contributing to the problem was that both earlier projects
had twin-bay wings. This meant that I had to deal with 8 inter-wing
struts and 4 cabanes. In my haste, I tried to install them all at once.
I would have needed a few more hands to do this!
Although the final results were acceptable, especially for first
efforts, there was no way I was going to try and rig them.
Top Wing Alignment Jig
After discussing the issue with a few excellent WWI modellers and
getting a different opinion from each, I decided that I needed a jig.
The only problem was that I had absolutely no idea how to build such a
jig, and was therefore no closer to finishing my stack of unbuilt
biplanes.
The penny dropped when I bought the Roden 1/72 scale S.E.5a biplane. I
noticed that the artwork on the back cover was drawn to a constant 1/72
scale. I figured that if I taped the two interplane struts to the
artwork and temporarily glued a piece of styrene across the struts, then
the correct angle and stagger would be set. The only remaining challenge
would be to ensure that the struts were vertical when secured to the
wings.
Of course, this solution assumed that the artwork was 100% correct, and
that any one of 100 other possible mishaps would not interfere.
Click the thumbnails below
to view larger images:
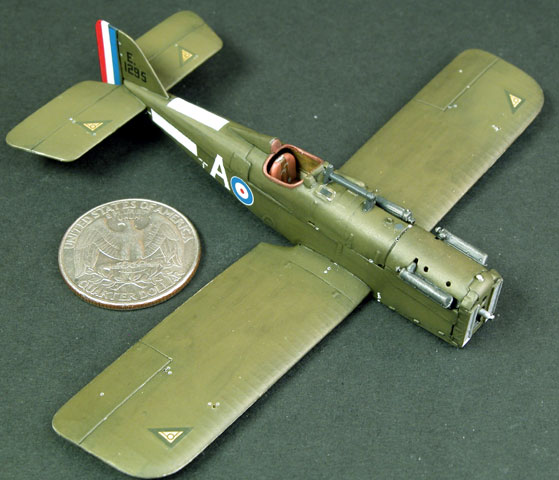
As it turns out, the plan worked well.
Fairly well anyway. I did not quite get the stagger
correct, and this resulted in the top wing being positioned too far
forward and slightly low. It is not too noticeable though, because the
slight discrepancy is the same for the entire length of the upper wing.
I consider the experiment is a success.
Tips and Pitfalls of Top Wing Alignment
Here is a short list of additional tips and possible pitfalls that
are helpful to keep in mind:
-
First, make sure that all of the interplane
struts are the same length. Do not assume that they are. If they are
not, it will throw the angle of the stagger out.
-
Also, be very careful when taping the
struts to the artwork as this will again effect the alignment on the
finished model.
-
Measure the distance between the mounting
holes on the wing to make sure that it conforms with the box art and the
position of the locating pins on the ends of the struts.

This procedure only applies to British biplanes or those with
individual struts. Some German biplanes such as the Fokker D.VII and
Pfalz D.XIII have “N” shaped interplane struts which are simpler to
install. The Albatros D.V, on the other hand, has vee struts and you
will have to work out another method to accurately align these.
Finally, not all of Roden’s kits have 1/72 scale artwork on the back of
the box. Under these circumstances you will need to source accurate
scale drawings from elsewhere.
For a number of years now I have looked upon the task of rigging
biplanes with horror. It was enough trouble actually building the kits
without subjecting myself to further potential for trouble at the very
end of the project.
However, I was feeling ambitious after successfully implementing my
top-wing solution, so I decided to have a go at rigging my 1/72 scale
Roden S.E.5a too.
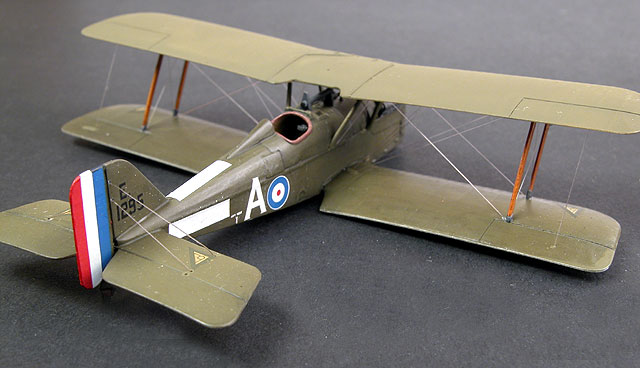
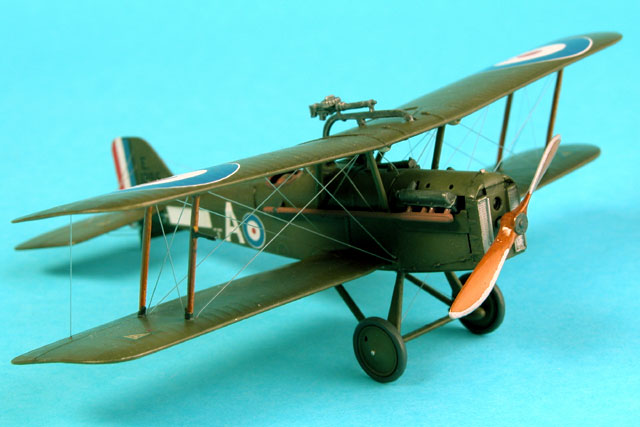
What a big difference a little bit of rigging makes!
There are many different ways to rig a biplane, and many rigging
materials available. If you have arthritic hands (as I do) you may not
even want to try it but, believe me, the results are worthwhile. Without
rigging, my S.E.5a looked like a toy. With rigging it looked, well, a bit
less like a toy! You can make up your own mind by looking at Brett’s
photos of my model.
The Rigging Process
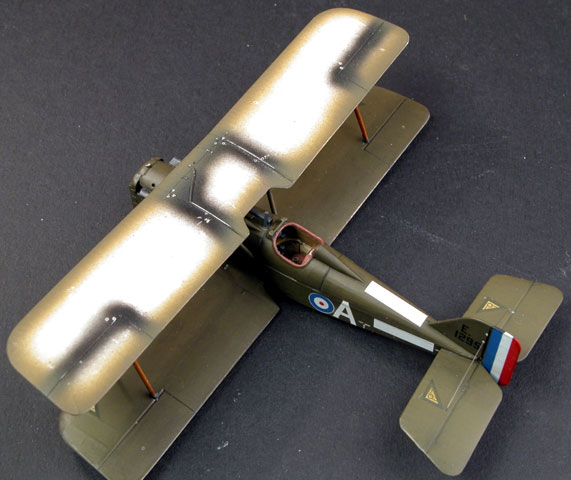
I started by drilling holes to thread the rigging before painting or
gluing the top wing, and before painting the top surface of the lower
wing. I also did not add the undercarriage until I had finished the main
rigging.
This is because I drill the holes all the way through the wing. I have
found that it is easier to rig the model, then clean up, fill the holes
and paint the wings after rigging.
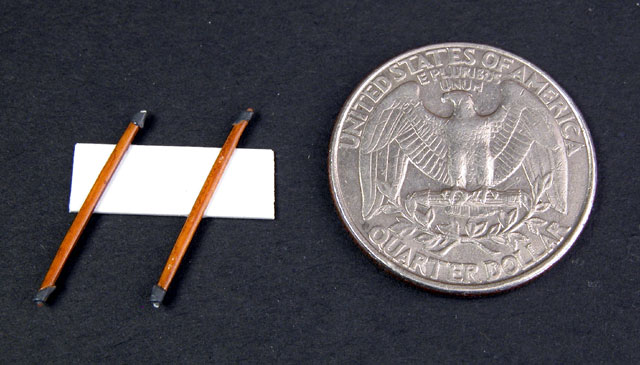
My thread of choice is monofilament (nylon invisible mending thread) as
it is very strong and looks reasonably to scale. With care, it can be
tightened by applying heat similar to the method used with stretched
sprue.
Before starting the rigging, take care that the glue on the top wing and
struts is completely set. Also, do not use too much weight when
stretching the rigging or it might pull the wings out of alignment or,
worse, break the bond of the struts.
I cut a piece of thread about double the length I need and thread it
through both holes. I then touch some slow-setting super glue on a
toothpick to the outside surface of the top wing where the thread is
exposed. When this has dried, I take the other end exposed at the bottom
of the lower wing, add a small weight for tension, and repeat the gluing
process.
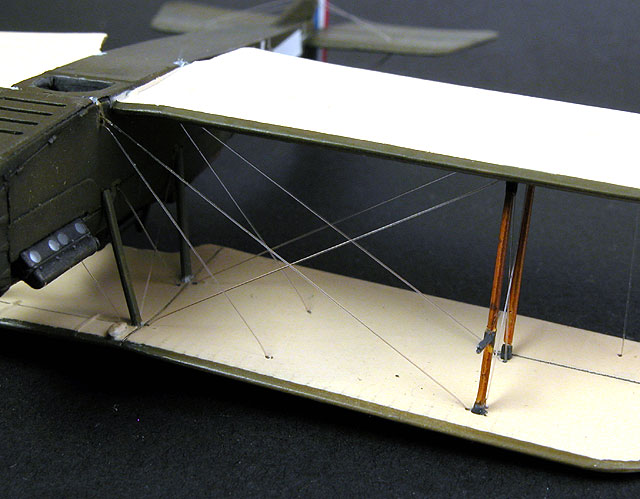
It is preferable to start rigging from inboard-out, and to work on both
sides of the model progressively. For example, when you have finished
the farthest inboard wire on the port side, start working on the
equivalent starboard side wire next.
Once the initial rigging is completed, the excess thread exposed from
the top and bottom of the wings may be sliced off with a sharp scalpel.
For rigging that enters the fuselage, I usually start with the fuselage
end of the thread, adding a drop of super glue and poking it into the
hole.
When the rigging is complete, the remainder of the wings can be painted,
followed by the adding of the undercarriage. Remember that most biplanes
had some sort of rigging on the undercarriage. This area can have the
same treatment as the wings, but don’t forget to let the plastic glue
harden for around 24 hours before rigging here too.
I am not suggesting that this is the best or easiest method for
rigging a biplane but, with care and time, a good result can be
achieved.
If you talk to other biplane modellers they may have alternate methods
that you prefer. Either way, have a crack at rigging your next biplane.
It does make a big difference to the final appearance of your WWI
biplane!
Model and Text Copyright © 2003 by Glen Porter
Images Copyright © 2003 by
Brett Green
Page Created 02 June, 2003
Last Updated 02 June, 2003
Back to HyperScale
Main Page
|
 Home |
What's New |
Features |
Gallery |
Reviews |
Reference |
Forum |
Search
Home |
What's New |
Features |
Gallery |
Reviews |
Reference |
Forum |
Search